From your first accurate measurement to caring for a well-used drill, discover practical ways to prepare for home repairs, furniture projects and workshop tasks. Built for curious beginners and hands-on learners.
A good project begins long before the first screw turns. Decide what needs to change, what can safely be done, and what equipment is required.
01
Define the task
Write down the result you want. Separate the job into manageable steps and identify which parts require measuring, assembly, repair or finishing.
02
Check the materials
Identify the surface and components involved. Wood, masonry, metal and drywall often require different tools, bits and fasteners.
03
Prepare your workspace
Make room to work, provide suitable lighting, secure loose materials and keep children and pets away from tools and work areas.
KNOW YOUR LIMITSElectrical wiring, gas systems, structural changes and complex plumbing should be assessed or performed by qualified professionals.
02 / EVERYDAY ESSENTIALSHAND SKILLS
Get familiar with hand tools
A small, thoughtfully chosen toolkit can handle many everyday maintenance tasks. Learn what each tool does before buying duplicates or specialized equipment.
Tool
Common use
What to check
Screwdriver
Tightening and removing screws
Tip type and size fit the screw
Adjustable wrench
Turning compatible nuts and bolts
Jaw fit; avoid slipping
Combination pliers
Gripping and light manipulation
Jaw condition and insulated rating where relevant
Claw hammer
Driving or removing suitable nails
Handle and head secure
Hex keys
Furniture and hardware assembly
Correct metric or imperial size
Never assume an ordinary hand tool is safe for live electrical work. Use the appropriate rated equipment and qualified assistance.
03 / PRECISION FIRSTMEASURING
Measure twice, mark clearly
Accurate measuring reduces guesswork and wasted materials. Start with a tape measure, a pencil, and a suitable square or level.
WORKSHOP STUDY 02 / ACCURACY MAKES THE NEXT STEP EASIER
01
Use a consistent reference edge
Measure from the same straight edge or fixed reference point to avoid introducing unnecessary errors.
02
Make a readable mark
Mark the exact position using a sharp pencil, then verify where the tool or component must align.
03
Check level and square
Use a spirit level for horizontal or vertical alignment and a square to assess right angles where needed.
04 / BUILD A SOLID CONNECTIONASSEMBLY
Understand fasteners and fixing
Screws, bolts, nuts, wall anchors and brackets can look similar, but different materials and loads call for different fixing methods.
A / MATCH
Choose compatible hardware
Check fastener material, size, thread, length and intended application. Use manufacturer-specified fixings for supplied products.
B / PREPARE
Inspect the work surface
Confirm what you're fixing into. Wall types and hidden services can change which anchoring method is safe.
C / SECURE
Use controlled pressure
Hold components square, tighten progressively and avoid overtightening soft wood or fragile materials.
D / VERIFY
Check the finished connection
Inspect fit and movement. Follow specified torque and load requirements for critical assemblies.
!
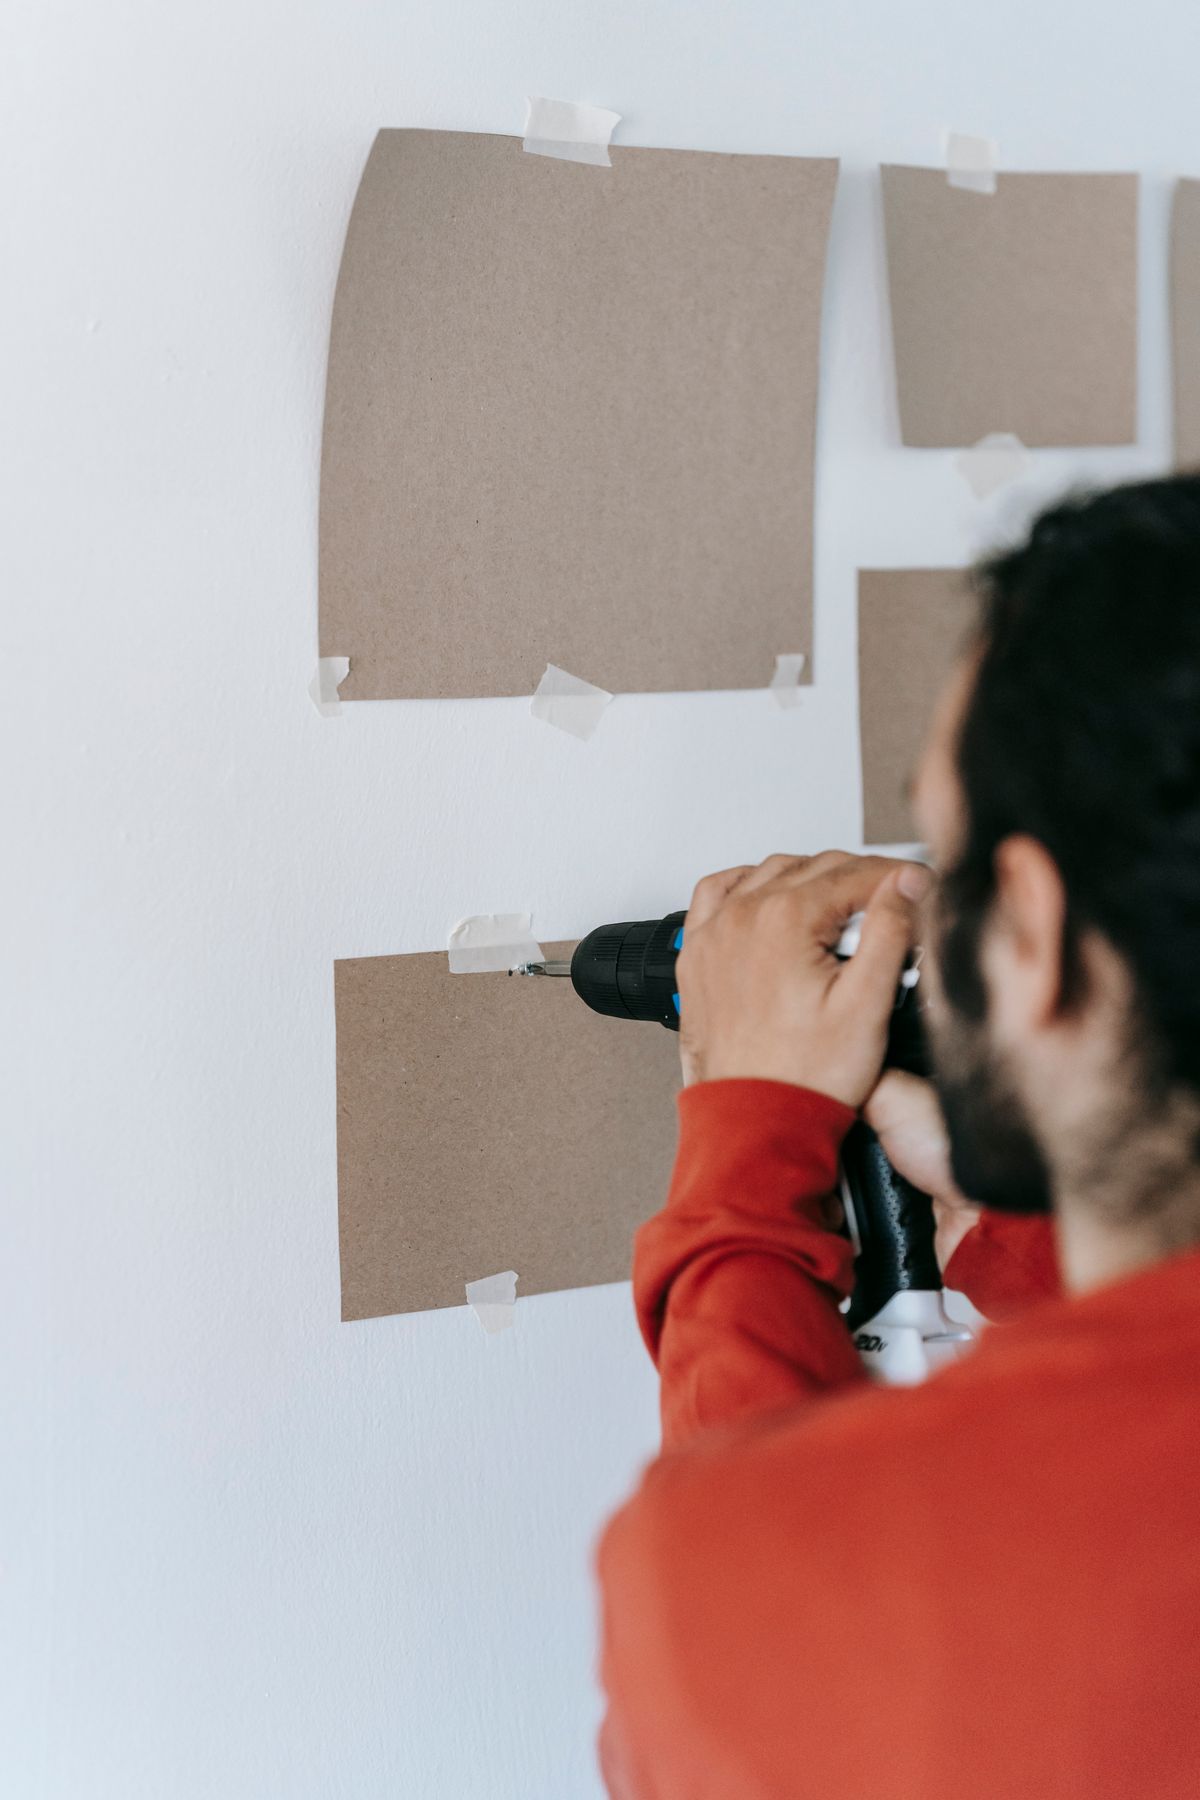
Do not drill into walls until you've checked for concealed pipes and electrical wiring, identified the wall construction, and verified the mounting load. Seek professional advice for safety-critical work.
05 / CONFIDENT CONTROLPOWER TOOLS
Learn the controls first
A power tool is useful only when it's matched to the job and operated correctly. Begin with the manual, the accessory, and the workpiece—not the trigger.
WORKSHOP STUDY 03 / LEARN EACH TOOL'S OPERATING LIMITS
01
Inspect before use
Check cords, batteries, guards, bits and fastenings for damage. Never bypass safety mechanisms.
02
Understand speed and settings
Read the manufacturer's instructions for direction, speed, clutch, torque, drilling mode and compatible materials.
03
Secure the workpiece
Use suitable clamps or supports. Keep hands clear of moving parts and maintain stable footing.
04
Disconnect for adjustments
Switch off and unplug or remove the battery, where applicable, before changing accessories or performing maintenance.
06 / WORK RESPONSIBLYSAFETY & CARE
Make safety part of the routine
Good habits protect people, tools and the spaces where you work. Choose protection for the specific task and follow product instructions.
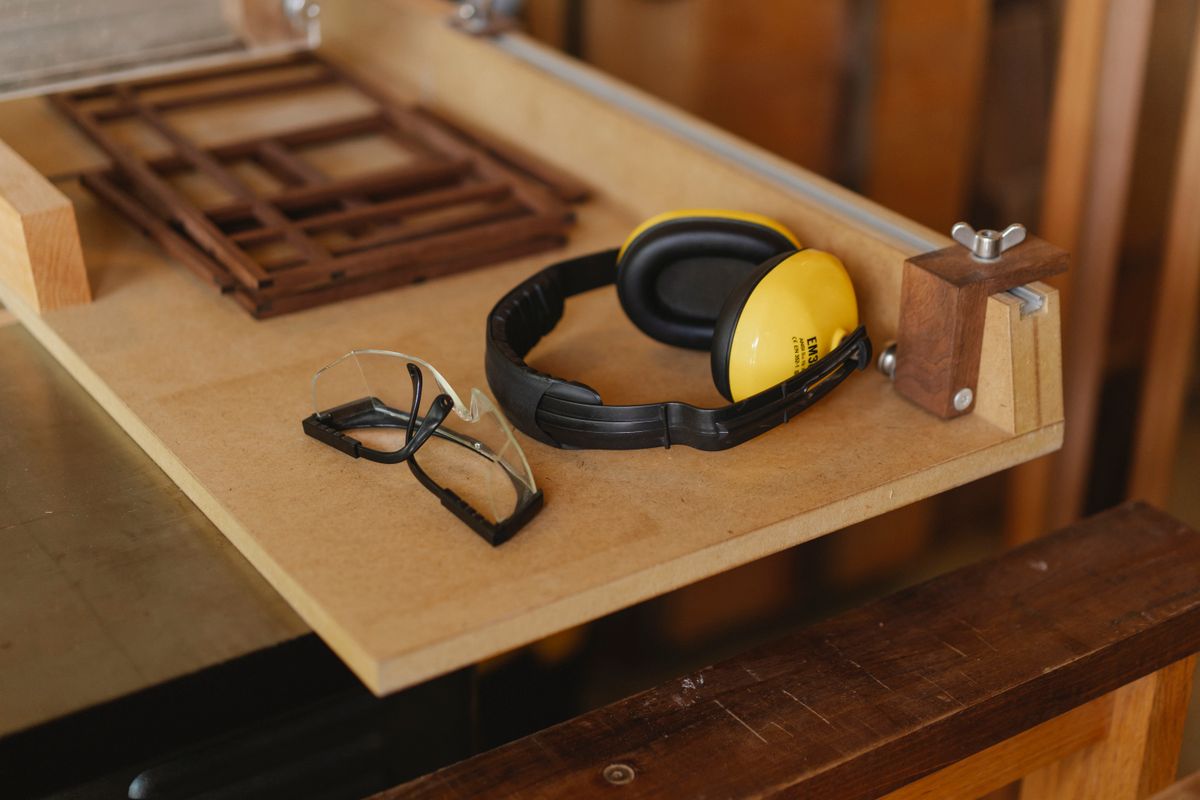
WORKSHOP STUDY 04 / KEEP PROTECTIVE EQUIPMENT ACCESSIBLE
✓
Use task-appropriate eye, hearing and respiratory protection as specified for the hazards involved.
✓
Keep the workspace bright, dry where required, and free of tripping hazards.
✓
Inspect accessories for cracks, damage or excessive wear before operation.
✓
Clean tools and store them securely according to the manufacturer's instructions.
✓
Stop when equipment behaves unexpectedly. Seek qualified servicing when necessary.
No. Many light home maintenance tasks can be done with a small toolkit and a stable, appropriately prepared work area. Choose projects that suit your experience and available space.
Which tools should a beginner buy first?+
A tape measure, a suitable screwdriver set, pliers, an adjustable wrench, a hammer, a level and basic organizers cover many small jobs. Add specialized tools as your actual projects require them.
Can I learn to use power tools from this page alone?+
This page provides introductory concepts, not equipment-specific training. Read the manufacturer's manual, seek hands-on guidance when needed, and follow all safety instructions before operating a tool.
What if I don't know which fastener to use?+
Identify the materials, expected load and applicable specifications first. For wall-mounted, structural or safety-critical installations, use manufacturer-approved fixings or consult a qualified professional.