MENDRIX / THE PROJECT EDITIONPLAN WELL. WORK SMART. BUILD BETTER.

HANDS-ON / HOME & WORKSHOP

Project Guides.

Your next project starts here.

Small fixes, thoughtful upgrades, and better-organized spaces. Explore practical project plans built around clear steps, suitable tools, and responsible preparation.

05 practical projects03 experience levels01 clear starting point
Close-up of hands carefully assembling a wooden furniture piece in a workshop
FIELD NOTES / 01 Make something useful.
01 / DEFINEKnow the task
02 / PREPAREGather the right tools
03 / CHECKWork with care
04 / FINISHReview your result

PREPARATION / 02

Plan before you begin

A little preparation helps you choose the right project, avoid unnecessary purchases, and work more safely.

Know when to stop. Work involving live electrical systems, gas, structural components, or complex plumbing belongs with qualified professionals.

01

Define the outcome

Describe exactly what you want to fix, build, organize, or refresh.

02

Check the material

Identify the surface, fasteners, fittings, and any manufacturer requirements.

03

Gather the essentials

Choose correctly sized tools, appropriate consumables, and protective equipment.

04

Inspect the space

Provide suitable lighting, secure loose items, and keep hazards away from the work area.

PROJECT 01SMALL HOME REPAIR

Secure a cabinet handle

A loose handle is a manageable first repair. The goal is a firm fitting, not maximum force.

TOOLS & MATERIALS

Correctly fitting screwdriver · clean cloth · compatible replacement screw if needed

  1. Inspect the fitting.Open the cabinet and locate the screws holding the handle. Check for a cracked handle or damaged mounting point.
  2. Match your screwdriver.Select the correct tip and size so the tool sits securely in the screw head.
  3. Tighten carefully.Hold the handle straight and turn gently until secure. Stop before stripping the screw or compressing the material.
  4. Test the result.Open and close the cabinet and check that the handle stays stable.
FINISHING CHECKIf the screw no longer grips, identify the correct repair method or replacement fitting. Do not force damaged hardware.
SKILL / BEGINNER01 — 05
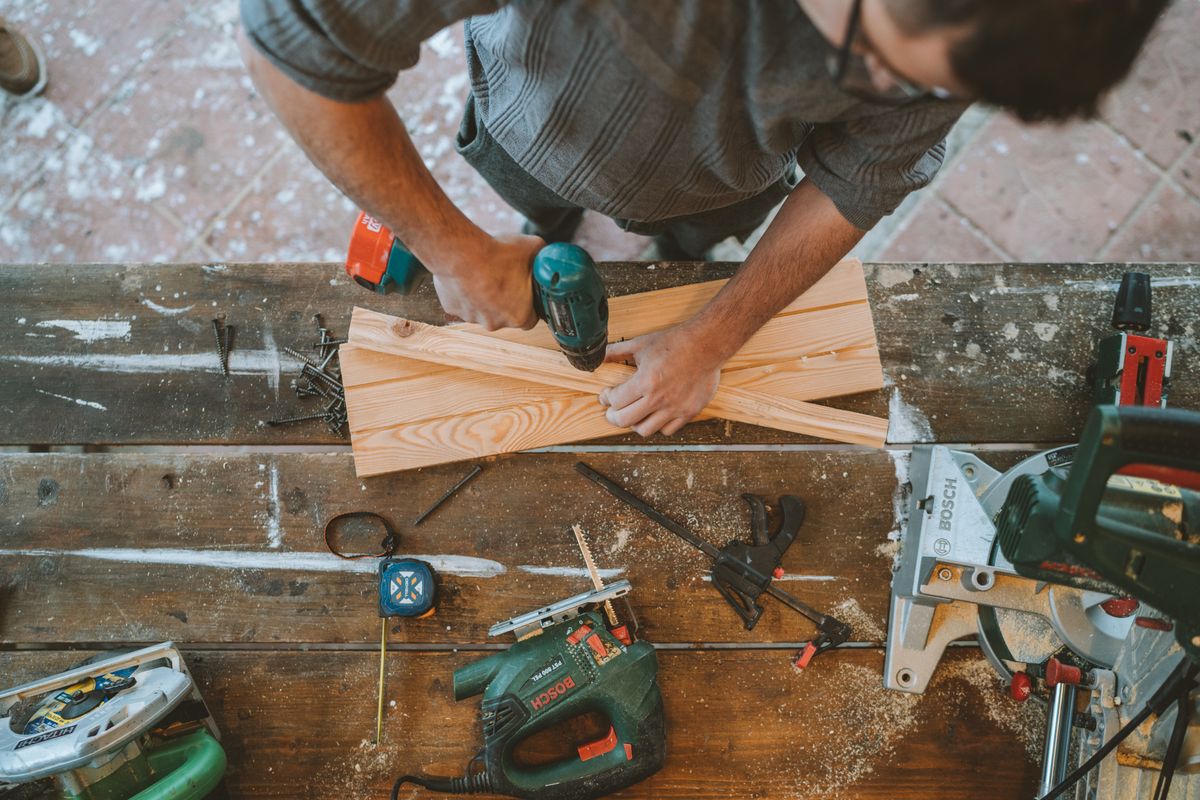
Carpenter working carefully with a handheld drill at a wooden work surface
HANDS-ON SKILL / CHECK YOUR TOOL FIT FIRST
PROJECT TYPEHardware & fittings
PROJECT 02FURNITURE ASSEMBLY

Assemble flat-pack furniture

A steady assembly process protects components and helps furniture fit the way its maker intended.

TOOLS & MATERIALS

Manufacturer's instruction manual · included fittings · compatible screwdriver or hex key · clear work surface

  1. Lay out the parts.Compare the parts and hardware against the supplied instructions before assembling anything.
  2. Protect your surface.Work on a stable, clear area and protect delicate components from scratches.
  3. Follow the sequence.Fit parts in the manufacturer's order, using appropriate tools without overtightening.
  4. Check alignment.Ensure panels meet correctly and doors or drawers move without binding.
  5. Complete the safety check.Apply required anti-tip restraints or wall fixings according to the manufacturer's instructions. Get professional help if the mounting surface is uncertain.
FINISHING CHECKNever use unstable furniture until all specified fasteners and safety fittings are correctly installed.
SKILL / BEGINNER02 — 05
Woman assembling a wooden chair with hand tools in a working studio
PROJECT STUDY / GOOD ALIGNMENT BEGINS WITH A PLAN
PROJECT TYPEAssembly & furniture
PROJECT 03SMALL PARTS STORAGE

Sort your hardware

A simple storage system helps keep the correct screw or fitting easy to find when it matters.

TOOLS & MATERIALS

Compartment organizer · labels · clean cloth · collection of screws, nuts, bolts, washers, and anchors

  1. Gather and inspect.Collect loose hardware and set aside pieces that are corroded, bent, or visibly damaged.
  2. Separate by type.Keep screws, bolts, wall anchors, nuts, washers, and fittings in distinct groups.
  3. Sort by specification.Divide by dimensions, material, thread type, and intended use when known.
  4. Label the compartments.Make labels readable so incompatible parts do not get mixed together.
  5. Store safely.Place the organizer somewhere dry and secure, away from children.
FINISHING CHECKKeep fasteners for safety-critical jobs in their original labeled packaging when specifications must be verified.
SKILL / BEGINNER03 — 05
Workshop pegboard holding an organized arrangement of hand tools
STORAGE STUDY / EVERYTHING HAS ITS PLACE
PROJECT TYPEWorkshop organization
PROJECT 04SURFACE PREPARATION

Prepare a wood surface

Good surface preparation can make a new finish easier to apply and more consistent in appearance.

TOOLS & MATERIALS

Manufacturer-approved cleaner · suitable abrasive · dust-removal cloth or vacuum · finish-compatible primer · task-appropriate protection

  1. Identify the surface.Confirm the item is suitable for cleaning or light sanding and check its existing coating.
  2. Review any hazards.Do not disturb old or unknown paint that could contain lead. Seek testing or professional guidance before proceeding.
  3. Clean first.Use the method recommended for the surface, then allow it to dry as required.
  4. Prepare gently.Where appropriate, use a suitable abrasive, control dust, and avoid damaging edges or details.
  5. Check before coating.Remove residues and follow the selected finish manufacturer's instructions on compatibility, ventilation, and curing.
FINISHING CHECKProtect nearby areas and wear protective equipment suited to the dust, finish, and cleaning products being used.
SKILL / BEGINNER–INTERMEDIATE04 — 05
Woman carefully applying paint to an interior wall as part of a home improvement project
FINISHING STUDY / GOOD PREPARATION MATTERS
PROJECT TYPEPainting & finishing
PROJECT 05WORKSPACE PLANNING

Plan your tool station

An efficient tool station begins with safe storage, clear access, and enough space for the tasks you actually do.

TOOLS & MATERIALS

Tape measure · pencil and paper · toolboxes or organizers · appropriate shelving or existing bench

  1. Measure the area.Record the available space and check door swings, walkways, and working clearances.
  2. Group equipment.Arrange measuring tools, hand tools, accessories, and consumables into sensible categories.
  3. Plan heavy storage.Keep heavy tools on stable, appropriately rated shelves or low storage.
  4. Choose safe access.Keep sharp tools secured, store chemicals appropriately, and avoid obstructing emergency routes.
  5. Review the layout.Check accessibility, stability, lighting, and load capacities before putting the station into regular use.
FINISHING CHECKFor wall-mounted shelves or racks, check for hidden utilities and use fixings rated for the wall and expected load. Consult a qualified installer if unsure.
SKILL / BEGINNER–INTERMEDIATE05 — 05
Neatly arranged mechanical tools on a workshop wall for efficient storage
WORKSPACE STUDY / STORE WELL. WORK BETTER.
PROJECT TYPEStorage & workspaces

PRE-FLIGHT CHECK / 03

Ready for the project?

A quick readiness check can help you spot an issue before it becomes a problem. These checkboxes are for your own planning and do not submit or store information.

Review DIY essentials
Make safety the first step, not the last.

HELPFUL ANSWERS / 04

Project questions

Keep your plan realistic and choose the right equipment for the job.

Which project should I start with?

Start with a low-risk task you understand, such as organizing hardware or tightening a sound cabinet fitting. Move on to more demanding work only when you have suitable equipment and experience.

Do I need to buy every tool first?

No. Check the guide's materials and your existing toolkit. Purchase or borrow only suitable items required for your specific project, and never substitute a tool that is unsafe for the task.

Are these full product-specific instructions?

No. These are general project planning guides. Follow the manufacturer's instructions for the particular tools, fasteners, fittings, furniture, coatings, and equipment you use.

Can I mount heavy shelves myself?

Wall construction, hidden utilities, fixing choice, and load capacity all matter. If you cannot confirm the appropriate installation requirements, consult a qualified professional.

Where can I learn basic tool skills?

Visit the Mendrix DIY Learning Center for measuring, tool handling, fastening, and general maintenance guidance.

MENDRIX / BUILD BETTER

Good projects begin with thoughtful choices.

Pick a manageable task, understand your materials, and use tools suited to the work. Mendrix is here to help you explore the equipment behind your next project.

Craftsman drilling wooden planks while working on a hands-on carpentry project
THE NEXT PROJECT / START WITH A PLAN